
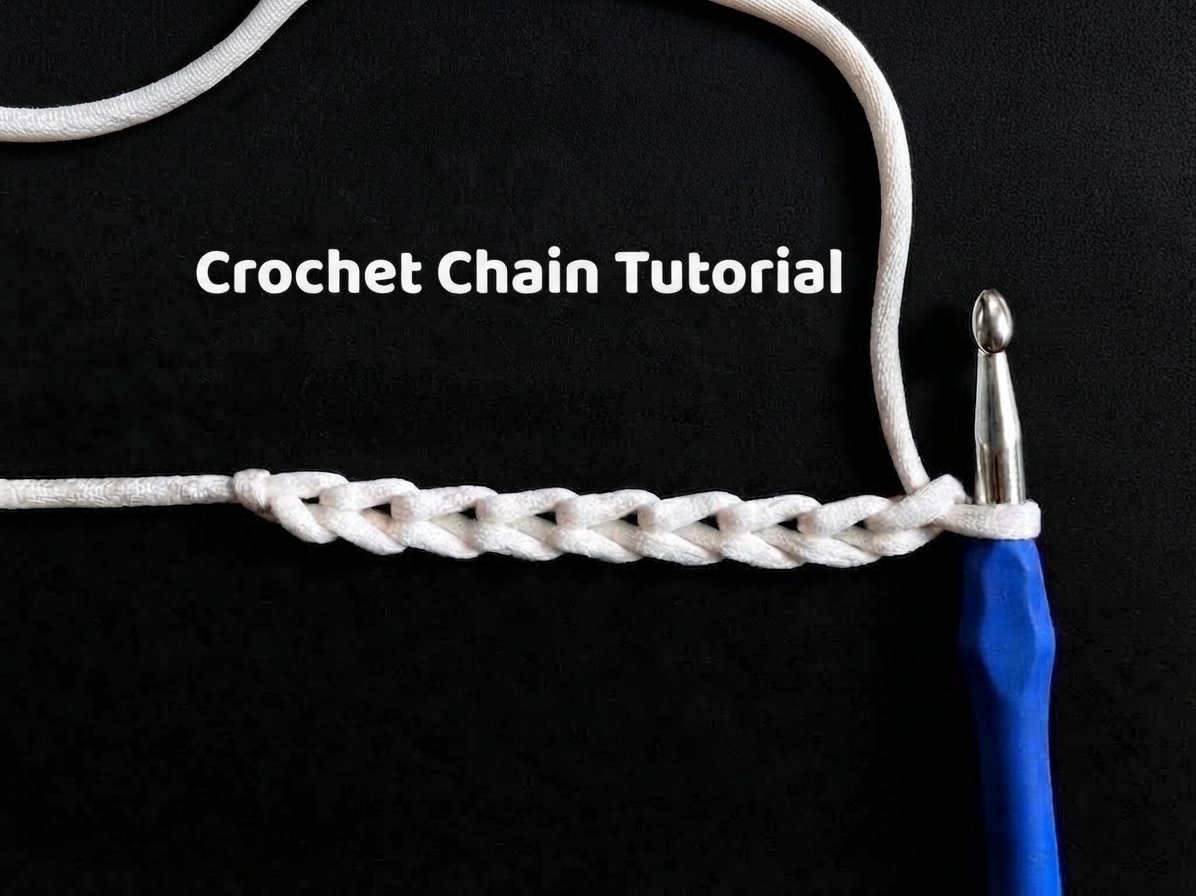
How to Crochet a Chain
Learn How to Crochet a Chain :
In this section, I’ll walk you through how to crochet a chain and create a foundation chain step by step. This lays the groundwork for every crochet stitch you’ll learn afterward and sets you up nicely on your path to mastering crochet.
As mentioned, the Foundation Chain is made up of two parts:
- The slip knot – the knot you tie to attach the yarn to your hook before you begin crocheting.
- The chain stitch – the actual crocheting part, where you repeat this stitch until you reach your desired chain length.
Let’s start with the Slip Knot.
How to tie a slip knot onto your crochet hook :
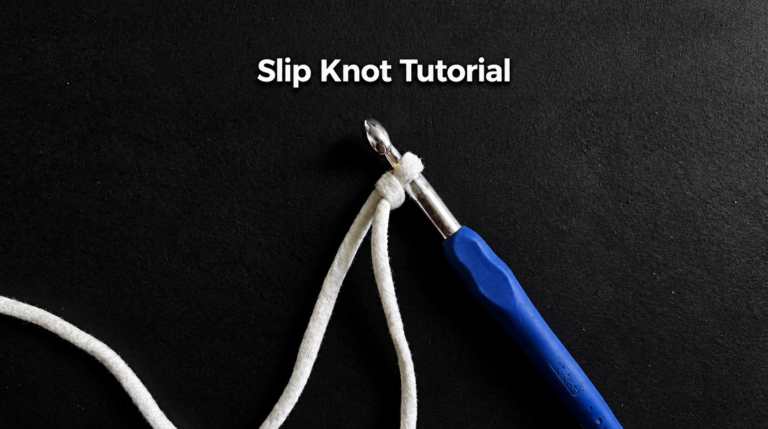
Check out the tutorial here: How to Make a Slip Knot Crochet
How to crochet chain stitches :
Let’s move on to creating a starting chain, this forms the base your whole crochet project will build on.
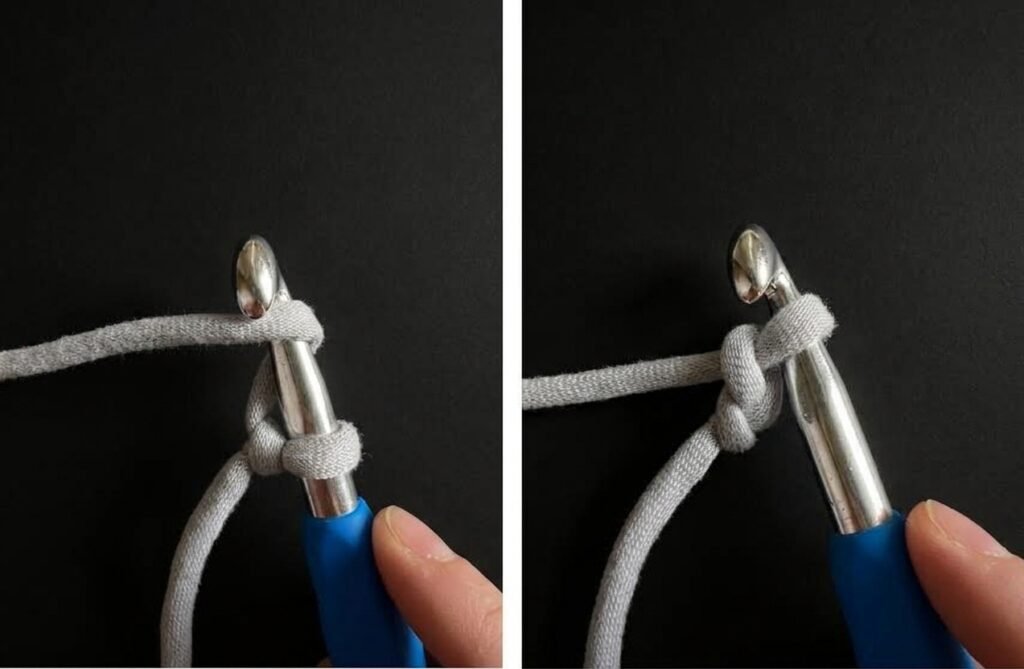
f you’re learning how to crochet a chain for the first time, follow these simple steps:
- Hold the short tail of your slip knot in your left hand, with the hook in your right.
- Yarn over, bring the yarn over the hook from back to front, and pull it through the loop already on the hook. This creates a new loop, and that’s your first chain stitch.
From there, keep making chain stitches, letting your left hand slide along the chain to keep a bit of tension, until you’ve reached however many stitches your project calls for.
Getting your stitches consistent takes time and practice, so don’t get discouraged. Stick with it, and you’ll notice your consistency getting better as you go.
Counting the Chains
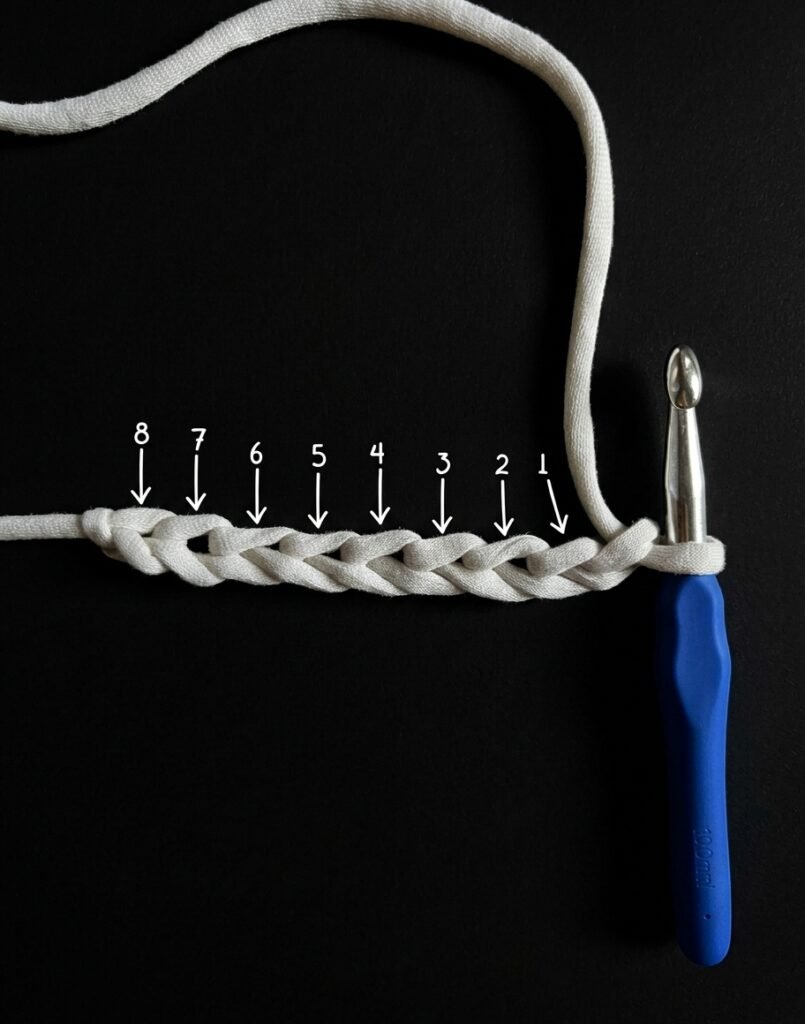
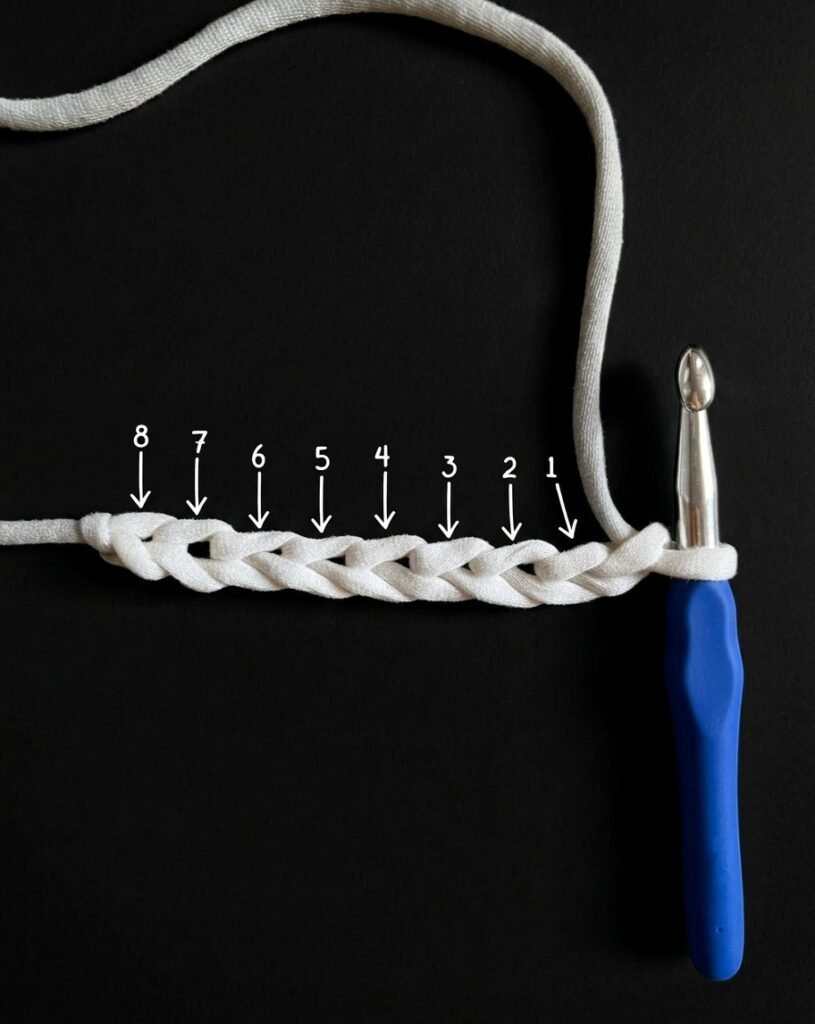
The photo above shows how to count the chain stitches you’ve worked so far. When counting, skip the slip knot and the loop on your hook, neither one counts as a stitch.
Work your first stitch into the “V” of each chain stitch, shown below:
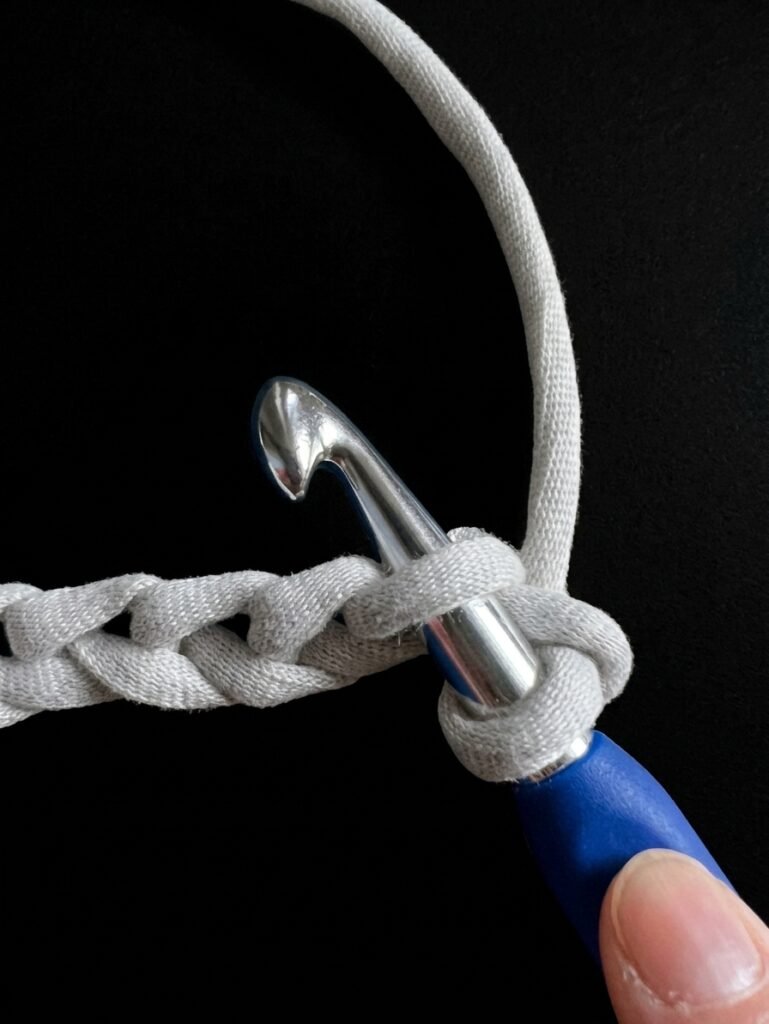
The first row of crochet can be tricky for beginners, and working into chain stitches especially so. It’s a common hurdle for new crocheters, but with practice and a bit of guidance, it gets much easier over time.
Here are some tips to help you get through that first row:
- Take your time: Crochet is a skill built through practice. Be patient with yourself and allow room to learn and make mistakes along the way.
- Use a larger hook: For a new project, try a hook one or two sizes bigger than what’s recommended for your yarn. This creates larger chain stitches, making them easier to work into on the first row.
- Keep your tension even: Consistent yarn tension matters — chains that are too tight or too loose will make it harder to work into them.
- Practice a foundation chain on its own: Before diving into your actual project, try making a standalone foundation chain first. This helps you get comfortable forming chain stitches and figuring out where to insert your hook.
- Mark your stitches: Use stitch markers or a contrasting strand of yarn to mark the first stitch of each row. This keeps you from losing track of where your rows start.
- Count as you go: Keeping count of your stitches helps catch any accidental skips or extra stitches early.
- Try alternative starting methods: Some crocheters prefer starting with a foundation single crochet (FSC) or foundation half double crochet (FHDC) instead of a traditional chain, as these can offer a sturdier base to work into.
- Use video tutorials and diagrams: Watching the process in action can make a big difference. Look for video tutorials or diagrams that show how to work into chain stitches for the first row.
- Work on a stable surface: If holding your fabric while crocheting into the chain feels awkward, rest your work on a table or lap desk for extra support.
Remember, practice makes perfect, and running into challenges early on is completely normal. Don’t let initial struggles discourage you, keep at it, and you’ll soon feel much more comfortable crocheting into chain stitches.
Every crochet stitch has two loops at its top, shown in the photo below. Typically, you’ll insert your hook under both loops of the stitch from the previous row. Sometimes, though, a pattern will call for working into just the front loop or back loop to create a decorative effect.
I hope this mini tutorial has helped you learn how to crochet a chain and get the hang of counting your chain stitches.
Now that you can crochet a chain and count it, let’s start crocheting!
I hope this tutorial has helped spark your love for crochet. If you’re ready to move forward, check out How to Single Crochet next — it’s typically the next stitch beginners learn, and it forms the foundation for many different crochet projects.
Wishing you the best on your crochet journey — I can’t wait to see what you create!
Until next time, happy crocheting.
5 Comments
Comments are closed.