
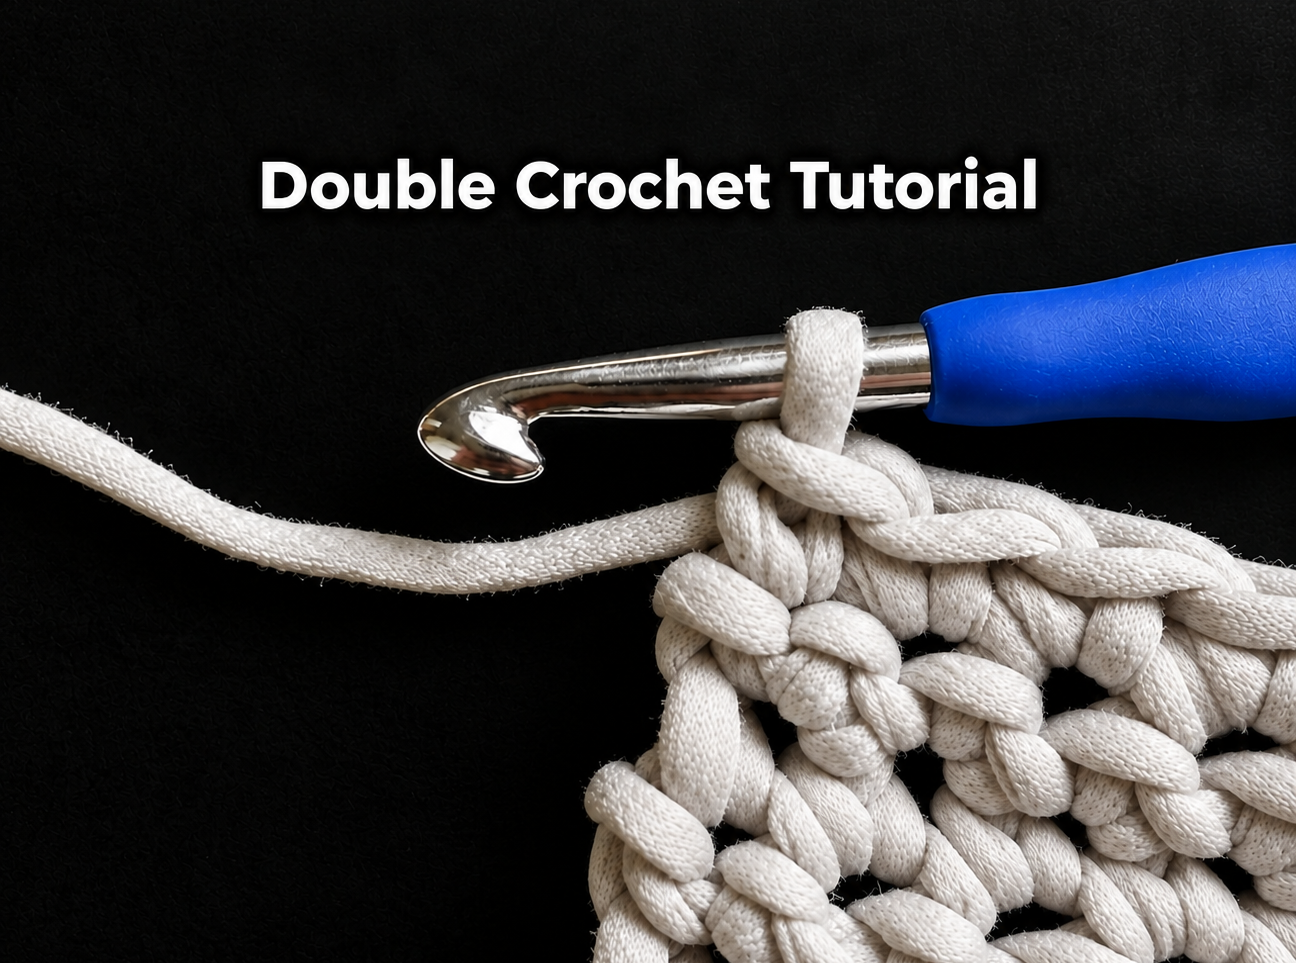
How to Double Crochet (DC)
Learn how to double crochet with this easy beginner-friendly tutorial.
Follow the step-by-step instructions and photos to master the double crochet stitch. It’s widely used across crochet projects and helps create a more open, airy fabric. Here’s a step-by-step guide to making a double crochet:
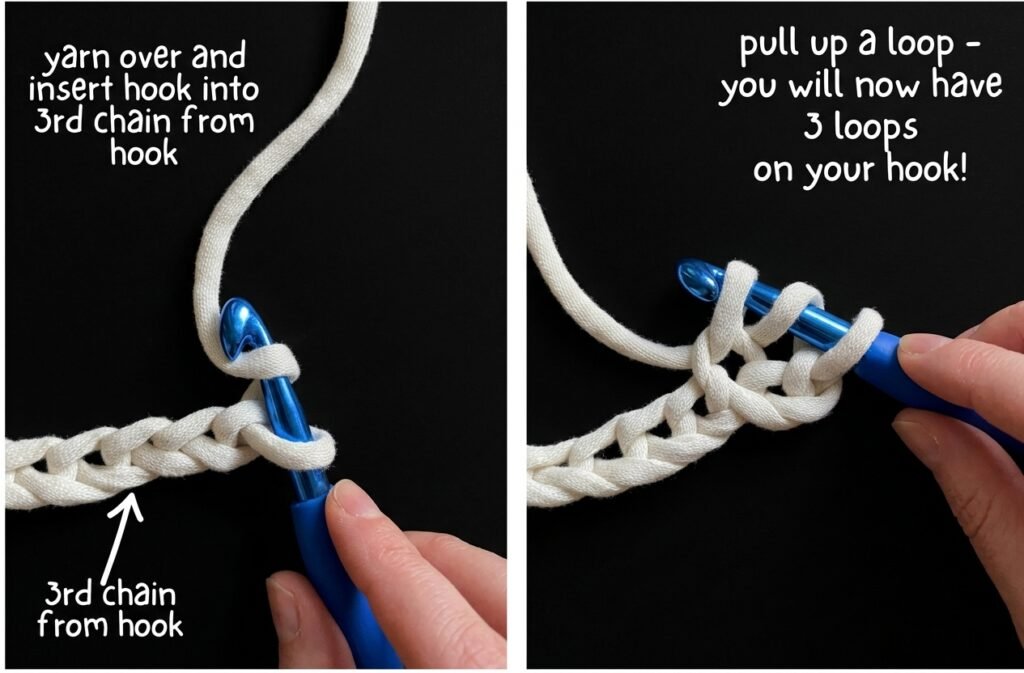
- Yarn over and insert your hook: Yarn over by wrapping the yarn around your hook from back to front, moving counter-clockwise. Then insert your hook into the stitch you want to work into, whether that’s on your foundation chain or a previous row.
- Yarn over and pull through: Yarn over again and pull it through the stitch. You should now have three loops on your hook.
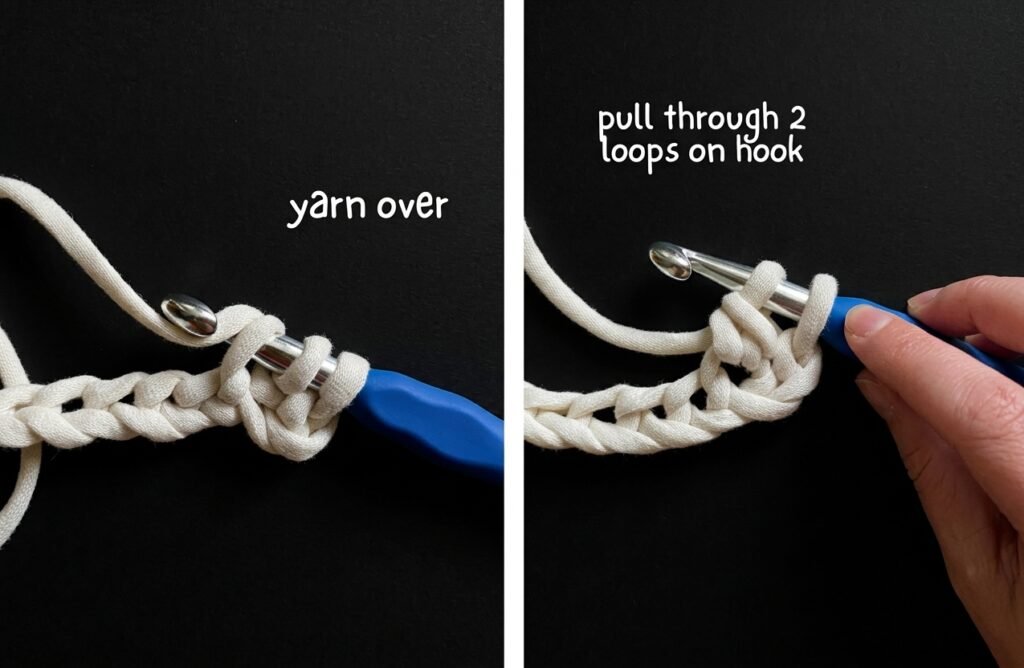
- Yarn over and pull through two loops: Yarn over once more and pull through the first two loops on your hook, leaving two loops remaining.
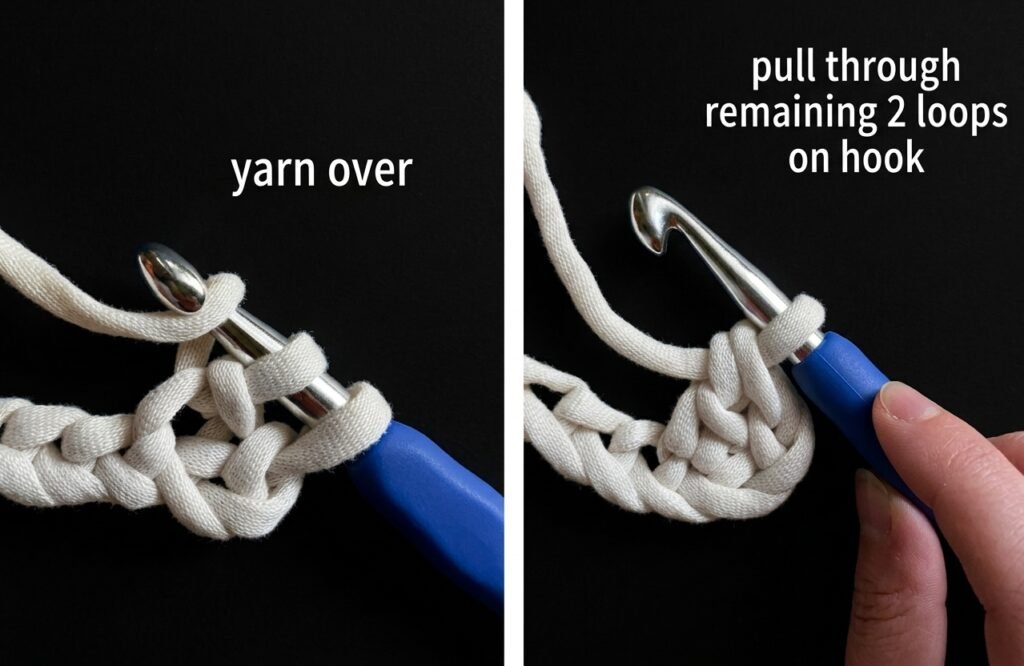
- Yarn over and pull through the last two loops: Yarn over one final time and pull through the remaining two loops. This completes your double crochet stitch.
- Continue across the row: Repeat steps 1 through 4 in each stitch along your foundation chain or previous row until you reach the end.
- Turning chain: To begin your next row, you’ll need a turning chain. For double crochet, this typically means chaining three at the end of the row before turning your work.
- Double crochet in each stitch: Starting in the second stitch from your hook (the first stitch is where your turning chain sits), yarn over, insert your hook, and work a double crochet following steps 2 through 4. Continue across the row.
- Repeat: Repeat step 7 for each row, adding a turning chain of three at the end of every row, until your project reaches your desired length.
Tips:
- Keep your tension consistent throughout to achieve even, well-shaped stitches.
- Count your stitches at the end of each row to catch mistakes early and stay accurate.
With a bit of practice, the double crochet stitch will start to feel natural, and you’ll be able to use it in all kinds of crochet patterns and designs. Happy crocheting!
Finishing
Properly finishing your crochet work is what gives it that neat, professional look. Here are the standard steps to finish off your crochet project:
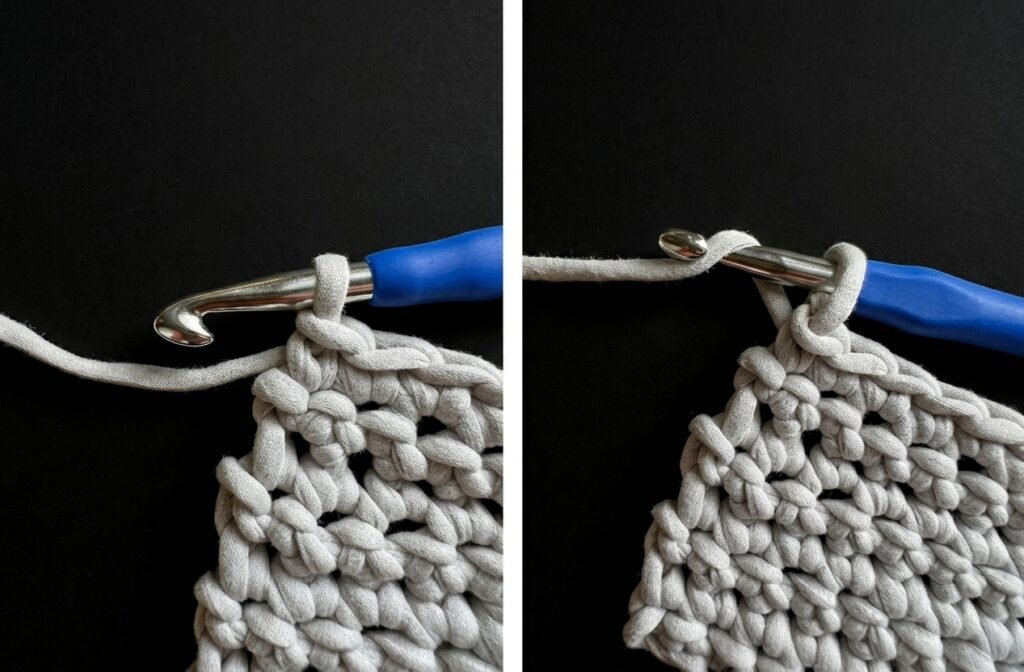
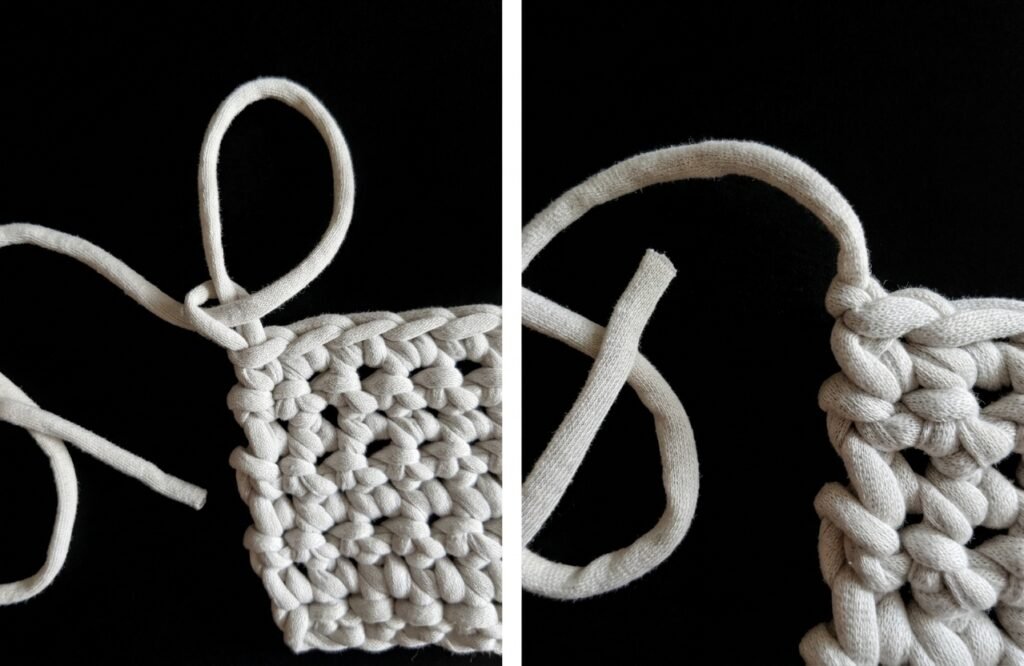
- Fasten off: Once you’ve reached the end of your project, secure the yarn by fastening off. Cut the yarn, leaving a tail of about 6 inches (15 cm) or more. Yarn over and pull the tail through the loop on your hook, this creates a knot that locks your last stitch in place.
- Weave in ends: After fastening off, you’ll be left with yarn tails at the start and end of your piece. Using a yarn needle or your crochet hook, weave these tails back and forth through the stitches on the backside of your work. This hides the tails and keeps them from unraveling later.
- Block your project (optional): Blocking shapes and sizes your finished piece. Depending on your yarn and project, blocking can help even out your stitches and help the piece lay flat. You can steam block, wet block, or use dedicated blocking tools, depending on the fiber and pattern.
- Add any embellishments (optional): If your project calls for buttons, zippers, or other add-ons, this is the time to attach them securely.
- Finish decorative edges (optional): For projects like blankets or shawls that call for a decorative edge, choose your border pattern and follow the instructions to complete it.
- Wash and block (optional): If you haven’t blocked yet, wash your project according to the yarn’s care instructions, then block it for its final shape and size.
- Enjoy your finished project: Once all the finishing touches are done, your crochet project is ready to use or gift!
Keep in mind that finishing steps can vary depending on the specific project and pattern you’re working with. If you’re following a pattern, always defer to its finishing instructions.
Taking the time to finish your project carefully and with attention to detail can make a real difference in how the final piece turns out. So slow down, enjoy the process, and take pride in completing your crochet masterpiece!
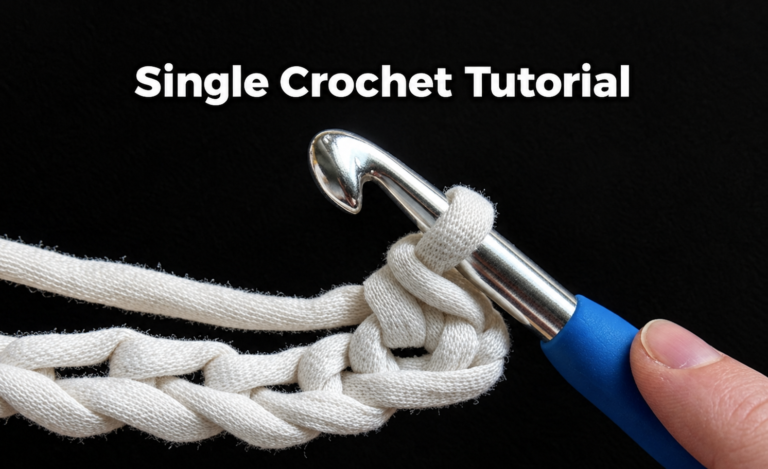
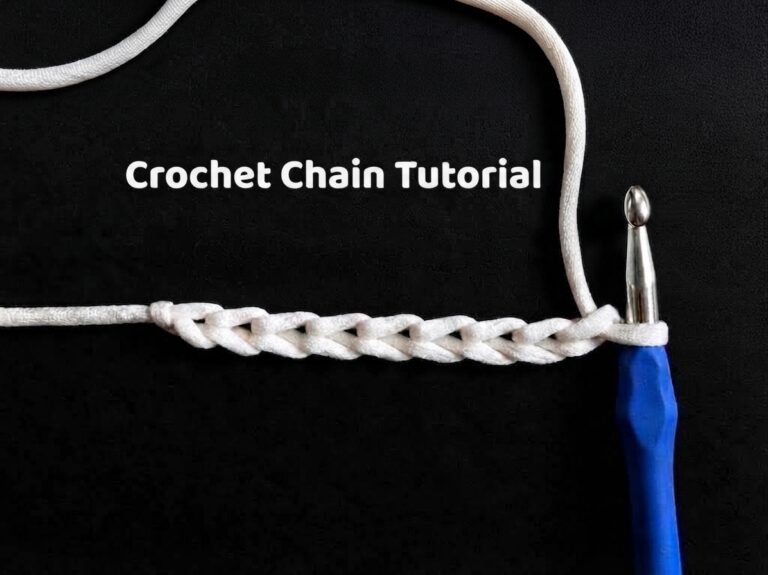
Looking for more crochet tutorials? Explore our Crochet Tutorials for more easy, step-by-step guides to help you learn new crochet stitches and techniques.
One Comment
Comments are closed.